Showing posts with label Split Drawers. Show all posts

Wednesday, February 26, 2014

February update

It has been almost a month since I posted last. College has kept me very busy and I haven't found much time for sewing lately. As you may remember, in January I posted a list of things I hoped to get done over the year. It took me until February, but I finished something on the list:

Another flannel petticoat!
 I don't care for hemming, so instead I scalloped the bottom edge of it. I have no idea if that was a period correct way for finishing period undergarment hems or not, but no one will see it anyways. ;)

Another project I've been working on lately (also not on my list) is a skirt for modern wear.


I have found that in our cold winter this year, a skirt and four petticoats will keep you even warmer than a pair of pants will. In reality, the skirt is a shade or two darker than in the picture. This skirt is paused at the hemming stage.

In January, I also finished a good portion of a new pair of split drawers for reenacting. 


There are three pairs of tucks on the legs - two decorative and one functional. I need to look up how to hand stitch buttonholes because the waistband on them is thick and I don't want to risk damaging my machine. Plus, I would just like to learn. 

Recently, I purchased a new dress! It has short sleeves, with detachable long sleeves. I'm planning on first wearing it to the Kalamazoo Living History show in March.


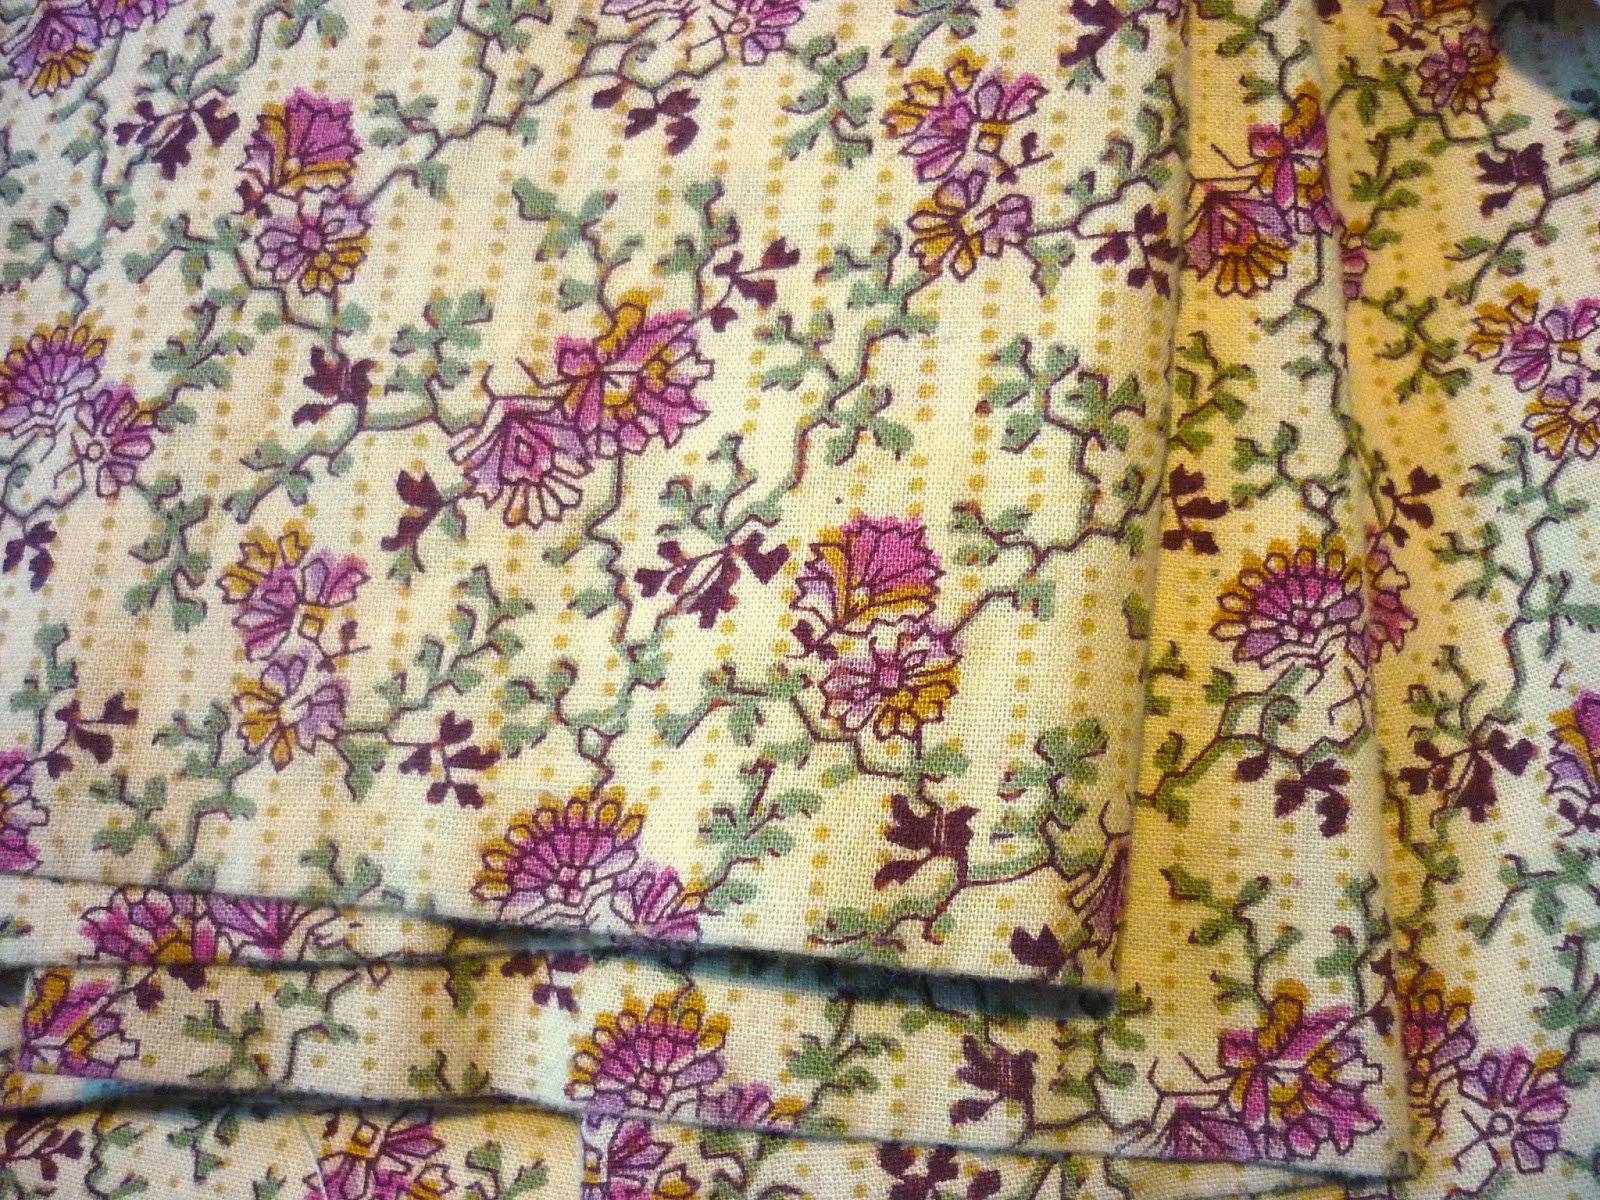
The second picture better shows the color of it. It has mother of pearl buttons down the front which are non-functional, a hook and eye closure and cute little puff sleeves! I'm excited to wear it.

That's about all that's new with me. While college has kept me busy, I am finding it interesting. One of the required books to read is Copper Country Journal, by Henry Hobart, a schoolteacher in Michigan's Upper Peninsula during the Civil War. While he doesn't talk overly about events happening in the war, it's a good look at life then. I highly recommend it.

I hope you are all well. Is anyone planning on going to the Living History show in Kalamazoo, March 15th and 16th?

Monday, July 29, 2013

My Chemise and Split Drawers! (And a Dress form)

If you have a Civil War dress, you also need all the correct undergarments to go with it. When I first made my dress, I had no clue about the correct 1860's silhouette, so recently I've been filling where I missed. A chemise and a pair of split drawers were the final pieces to complete my outfit.

I happened across a pattern for an 1850's - 1870's chemise in the Chapman Historical Museum that Cassidy from A Most Beguiling Accomplishment drew up. I thought it looked fairly simple, giving that it was all one piece (except for the gussets), so I decided to give it a go. I bought a plain white sheet. I thought it was cotton, but then I saw the tag said muslin. It feels thicker than most cottons to me.

Here's her sketch:


It took me a while to figure out how big to enlarge the thing. I ended up around 27" wide and while it isn't uncomfortable to wear, I think next time I'll make it a few inches wider. I was going to model it for you myself, along with my drawers and corset, but lately it has been quite chilly and I didn't really feel like walking around in my undergarments. :) My new dress form will model it for you instead. (Read more about her below)


There is some excess fabric below the arm, because of the way the pattern is, but it really doesn't bother me. 

The gussets
I used a self-drafted pattern for my split drawers, found at Auntie Maude's Compendium. They were fairly easy to make up and are very comfy! You can somewhat see them on my dress form, but they don't look very nice because she doesn't have legs to fill them out. :)


On to my dress form! I had been wanting one for some time now, but I waited until I made my corset so I could fit my historical dresses onto the correct silhouette. I started out with an old t-shirt and, with Mom's help, started slathering. You pretty much have to have someone help you, otherwise you can't get your shoulders correct. 

Taping...
Taping...


Taped!
Once I had a solid base, I cut it carefully off and taped it over a wooden frame made with Dad's help. Newspaper inside and more duct tape up the cut finished her up. Then I used my newest flower duct tape to cover her with. 


I think she turned out quite nice. I've named her Mabel. I haven't used her a whole lot yet, mainly just for modeling.

Hope your summer is going well!